SMS Blog
Cisco DNAC in Action: Simple Tasks to update an Image
As automation and network complexity continue to grow, the management of those networks also becomes more complicated. Cisco aims to reduce those difficulties with its Cisco Digital Network Architecture Center software, recently rebranded as Catalyst Center in version 2.3.7. Per Cisco, Catalyst Center “is a powerful network controller and management dashboard that empowers you to take charge of your network, optimize your Cisco investment, and lower your IT spending.” While Catalyst Center can do so much more, this blog will focus on the tasks required to update a software image.
Without using some sort of automation, updating a device image could be a tedious task; one would have to download the image, then find a way to push that image to the device. Typically, you would use S/TFTP or SCP from a laptop or server and copy it to the flash of the target device. Worst case scenario is using a console cable, which literally takes hours to complete. Catalyst Center simplifies this process, as long as some prerequisites have been met. Obviously, Catalyst Center must be configured (which is outside the scope of this blog), the required image must be in the Image Repository and set as the Golden Image, and the target device must be added to inventory. Once those prerequisites are completed, we are now able to update the image. (Please note, these instructions apply to Release 2.3.5)
Working with the Image Repository
Login to Catalyst Center or DNAC depending on versioning
Click on “Hamburger Menu”

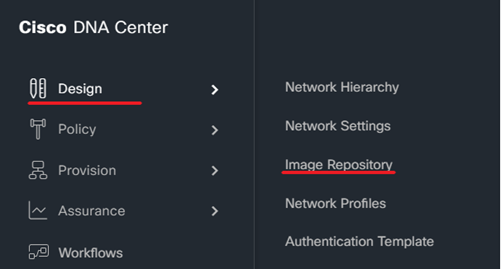
Select “Design” and “Image Repository”
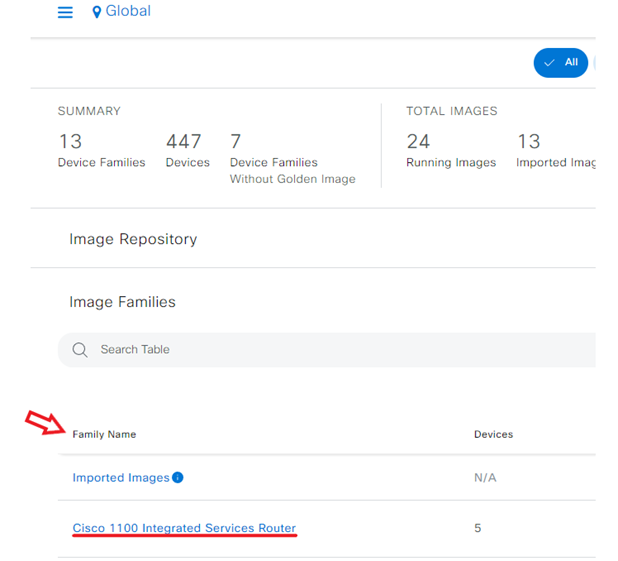
The “Summary” page should now be displayed, which, predictably, shows a summary of Device Types, Images, and associated Advisories.
There are a few ways to import an image into the repository. One is to have DNAC download the images directly from Cisco. On the summary page, you can choose the Cisco ID to use for this process.

If you cannot use the automatic import/sync to manually import a Software Image, click “Import Image.” From there, a pop-up window will appear; choose the appropriate selections and click “Import.” We were unable to utilize the image import directly from Cisco, so we utilized the “Import Image” option. We had to download the image from Cisco, then upload it from our computer to DNAC. Alternatively, you can specify a URL from which to import the image.

Once the image has been imported, you can then assign the image to device family. From the “Summary” page, under “Image Families,” click on “Imported Images.”
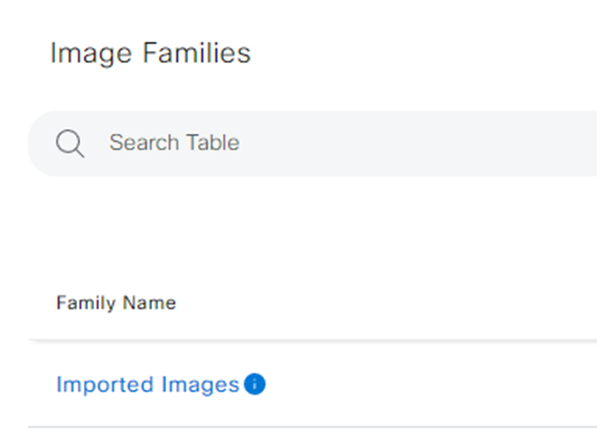
From this page, you can assign or delete images to a device series. You can also access the “Import Image” pane from this page. Completing these steps then allows you to set the “Golden Image,” which is necessary to be able to push that image to devices.
A “Golden Image” is one you have designated as the standard for that particular device series and/or device roles.
Designate Golden Image
Login to Catalyst Center/DNAC
Click on “Hamburger Menu”
Select “Design” and “Image Repository”
Under “Family Name,” select the necessary device type:
From this window, you can choose the image you require to be Golden by clicking on the star under the “Golden Image” heading to fill it in:

Here you can specify which Roles and Tags to which this Golden Image applies and also download the image; if you haven’t already, click on the Download icon under the “Golden Image” heading (as seen on the “Install Mode” Image in the last line) and follow the steps as outlined above.
Next, you have to add the device into Catalyst Center/DNAC’s Inventory.
Adding Devices in Catalyst Center/DNAC
Login to Catalyst Center/DNAC
Click on “Hamburger Menu”
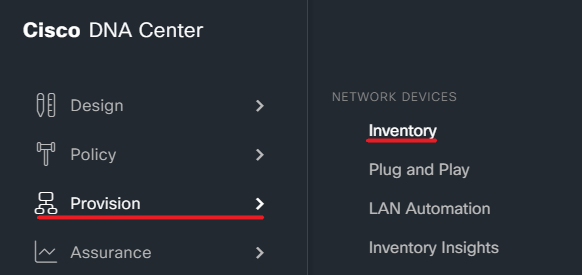
Select “Provision” and “Inventory”
In the “Filter Devices” bar, click on Filter Icon

Enter the switch name or IP address and press Enter. If no results appear, it means the device hasn’t been added to the inventory yet, and you can continue with adding the device. If a device does show up, it’s already in the inventory. In that case, you may need to remove the existing device or relocate it to the correct building or site to complete the addition.
Click “Add device”
Add IP
Under Credentials, add as appropriate
Click Add
Back on “Provision/Inventory Screen,” once again filter for switch IP address. This time, it should populate and you must now move the device into the correct location. Select the device and click on the “Actions” drop down menu:

Select “Provision” and “Assign device to site”

Click on “Choose a site”
Either:
Search for Building # in Filter Bar by clicking Filter Icon and adding building # to “Site Name” and click search
OR
Expand “Global” and search for Building
Once building selected, click “Save” then “Next”
Select “Now” then click “Assign”
The device is now added to inventory, and its image can be updated.
Updating Images in Catalyst Center/DNAC
Login to Catalyst Center/DNAC
Click on “Hamburger Menu”
Select “Provision” and “Inventory”
In the “Filter Devices” bar, click on Filter Icon
Add identifying switch information, such as name or IP, and click enter. Once device populates, select it, then click on Actions/Software Image/Image Update:

Select the device to be updated and click Next.
On the following screens (Distribute and Activate), we left these as default. However, if you prefer, you can configure DNAC to perform custom pre- and post-checks from the “Distribute” pane. The “Activate” pane will allow you to choose a time to begin the update.
On the schedule and clean up screen, choose a time to distribute under Software Distribution and slide the bar under “Software Activation” to select “After Distribution”.

If necessary, you can add a check to the box for Flash Cleanup, but it is not necessary.
Click Next, then Submit (if necessary, click Continue in the Information pop-up) to start the Image Update. To verify the job was submitted, change your Focus to Software Images and ensure Software Image and OS Update Status shows In Progress and Distribution in Progress respectively.

Under OS Update Status, you can check the details by clicking on See Details.
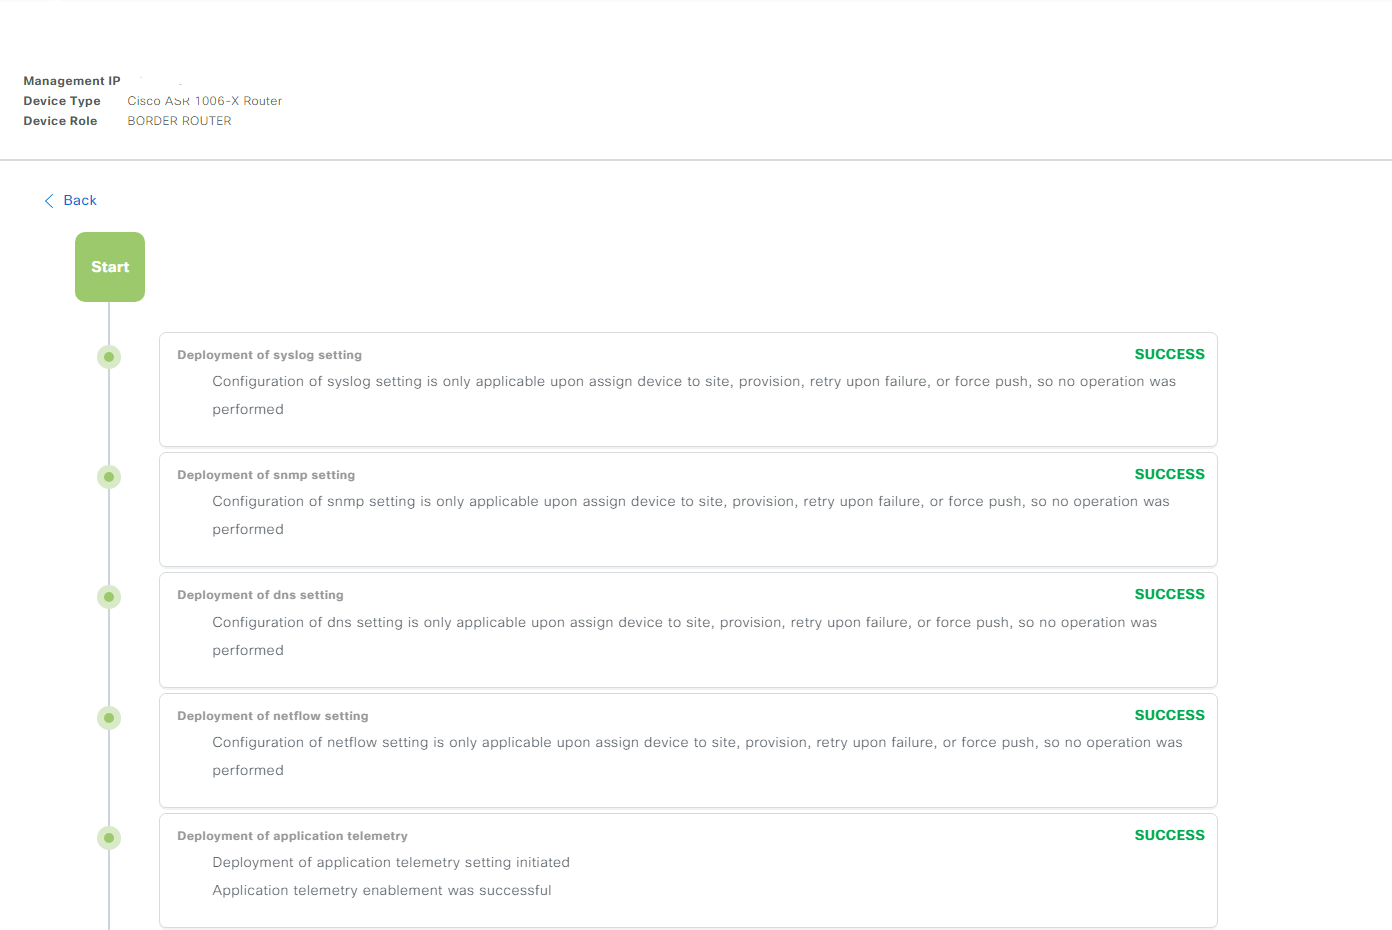
Once the update has been completed, DNAC will perform some post-checks automatically, such as CPU usage, and any custom post-checks as specified in the “Distribute” step.
As you can see, this small task can be accomplished quickly and in a straightforward fashion. While there are many tasks DNAC can perform, such as automating standardized configs, monitoring compliance, and automated troubleshooting, updating an image has been the most impactful for our operation, as we are required to update images regularly to enhance the security and performance of our network. Happy updating!

